This is for a 2008 E350 4Matic.
Items you need:
-ONE liter of Transfer Case Fluid. It is NOT ATF. It is a form of ATF, but not the same as whats in the transmission. Part # 001989230310 -- $20 cost at the dealer.
-Female Torx set
-Torque wrench
-Fluid transfer pump ($5 at harbor freight...any will work. If it fits on a bottle then great, otherwise no biggie.)
-Patience...estimated time from start to cleaned up should be about 1hr 30mins first time. My next time will take me 45mins I bet.
-Cold car
It wasn't as hard as half of the threads on here...Some show you have to remove the driveshaft...I didn't touch it. I also don't see any reason to touch the fill port at all since the manual states to fill via fill port til it drips out of the inspection port...so just fill via the inspection port to begin with.
1) Put the vehicle LEVEL on jackstands. Remove engine/transmission shield with 8mm bolts.
2) Put jack under the transfer case, NOT the transmission, NOT the crossmember. USE a 2x4 so not to bend the "fins".
3) Remove silver metal driveshaft shield with the two 13mm bolts. You don't have to remove the bolts, just loosen and slide the shield out.
4) Remove two 17mm nuts from the bottom of the crossmember that attaches the transmission mount.
5) Remove six 17mm bolts that holds crossmember in place. Lower the jack down a few inches to give space for step 6.
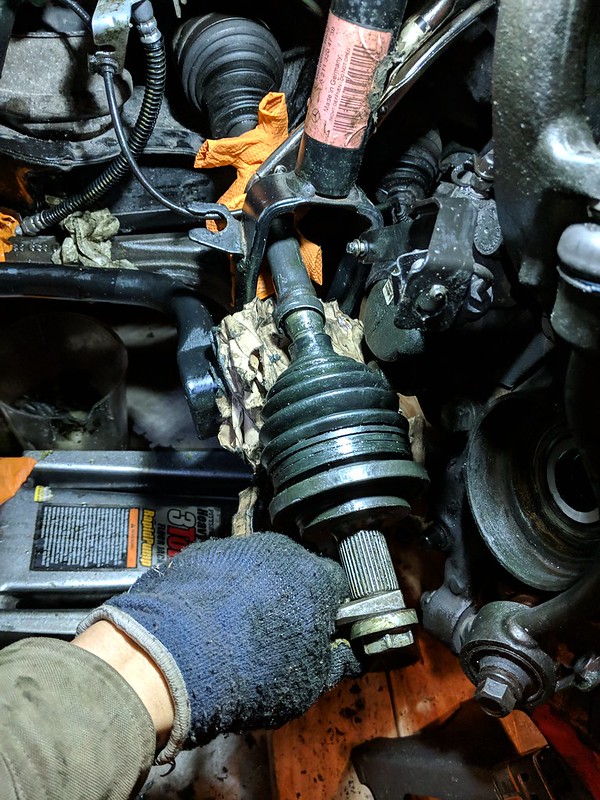
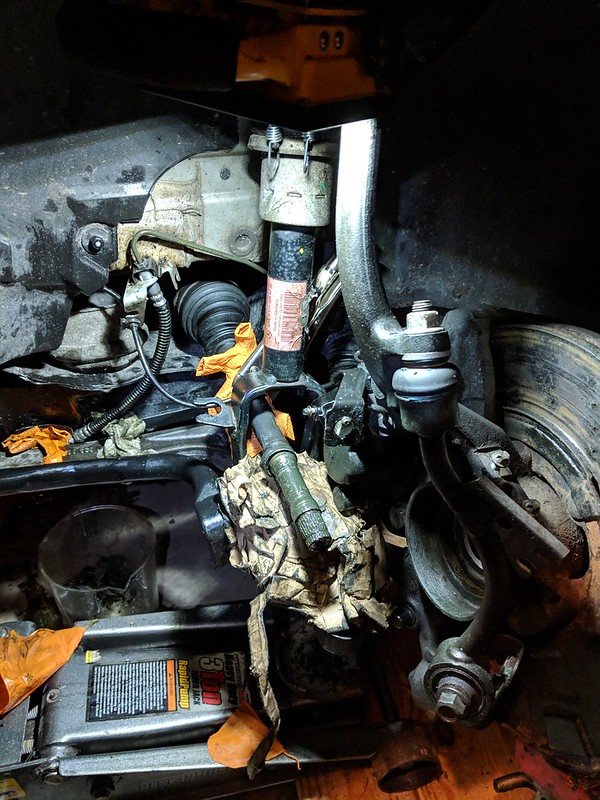
6) Remove the anti vibration damper. This item is HEAVY. Be CAREFUL. It is solid lead and weighs 5-7lbs. If it hits you in the head or lands on your arm it will bruise, a finger it will break it, a head it will knock you out. There are two E-12 bolts on the bottom, and one at the top. Use short extensions and it will give you enough space so you do not need to remove the driveshaft. If you don't have a good selection of extensions, go to harbor freight and get a bunch. If there isn't enough space, lower jack further, but not too low.
This requires an E-12 female torx piece you can get at harbor freight/sears.
7) Remove inspection port FIRST. Now remove drain plug. I believe it was a 6mm hex. 30nm torque
8) Total fill amount is 0.6L, so use about 0.2l to flush the old stuff out after its drained, then fill til it comes out of the inspection port.
9) Reverse of removal. Done for another 60k whatever is your fancy.
Items you need:
-ONE liter of Transfer Case Fluid. It is NOT ATF. It is a form of ATF, but not the same as whats in the transmission. Part # 001989230310 -- $20 cost at the dealer.
-Female Torx set
-Torque wrench
-Fluid transfer pump ($5 at harbor freight...any will work. If it fits on a bottle then great, otherwise no biggie.)
-Patience...estimated time from start to cleaned up should be about 1hr 30mins first time. My next time will take me 45mins I bet.
-Cold car
It wasn't as hard as half of the threads on here...Some show you have to remove the driveshaft...I didn't touch it. I also don't see any reason to touch the fill port at all since the manual states to fill via fill port til it drips out of the inspection port...so just fill via the inspection port to begin with.
1) Put the vehicle LEVEL on jackstands. Remove engine/transmission shield with 8mm bolts.
2) Put jack under the transfer case, NOT the transmission, NOT the crossmember. USE a 2x4 so not to bend the "fins".
3) Remove silver metal driveshaft shield with the two 13mm bolts. You don't have to remove the bolts, just loosen and slide the shield out.
4) Remove two 17mm nuts from the bottom of the crossmember that attaches the transmission mount.
5) Remove six 17mm bolts that holds crossmember in place. Lower the jack down a few inches to give space for step 6.
6) Remove the anti vibration damper. This item is HEAVY. Be CAREFUL. It is solid lead and weighs 5-7lbs. If it hits you in the head or lands on your arm it will bruise, a finger it will break it, a head it will knock you out. There are two E-12 bolts on the bottom, and one at the top. Use short extensions and it will give you enough space so you do not need to remove the driveshaft. If you don't have a good selection of extensions, go to harbor freight and get a bunch. If there isn't enough space, lower jack further, but not too low.
This requires an E-12 female torx piece you can get at harbor freight/sears.
7) Remove inspection port FIRST. Now remove drain plug. I believe it was a 6mm hex. 30nm torque
8) Total fill amount is 0.6L, so use about 0.2l to flush the old stuff out after its drained, then fill til it comes out of the inspection port.
9) Reverse of removal. Done for another 60k whatever is your fancy.


#2 •
I did this half year ago, similar with yours, only difference is step 8, I found after filling 400ml, oil will drain from inspection hole, that's not enough oil in the case. So I use paper tape wrap the end of hose, pressure in another 300ml, and quickly pull out hose and screw in the nut, about 50ml drain out, as a result, totally about 650ml oil filled in the case. So far so good.