|
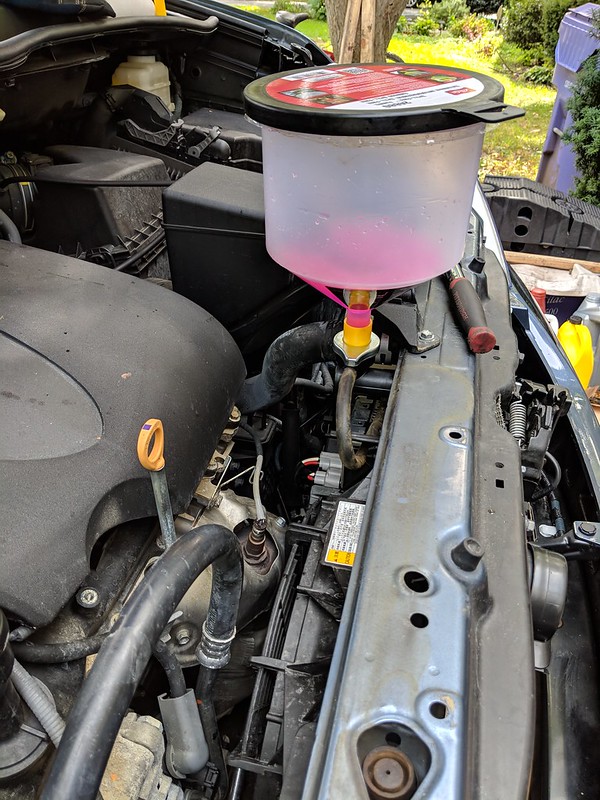
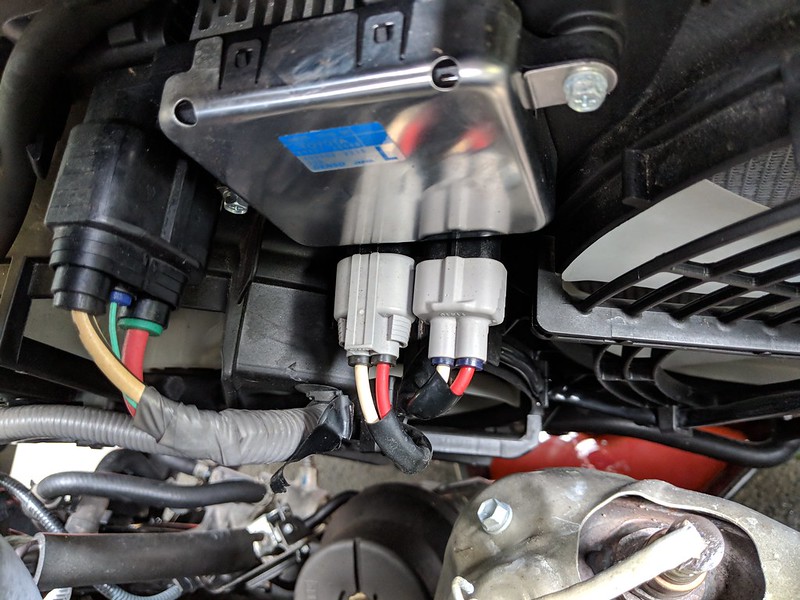
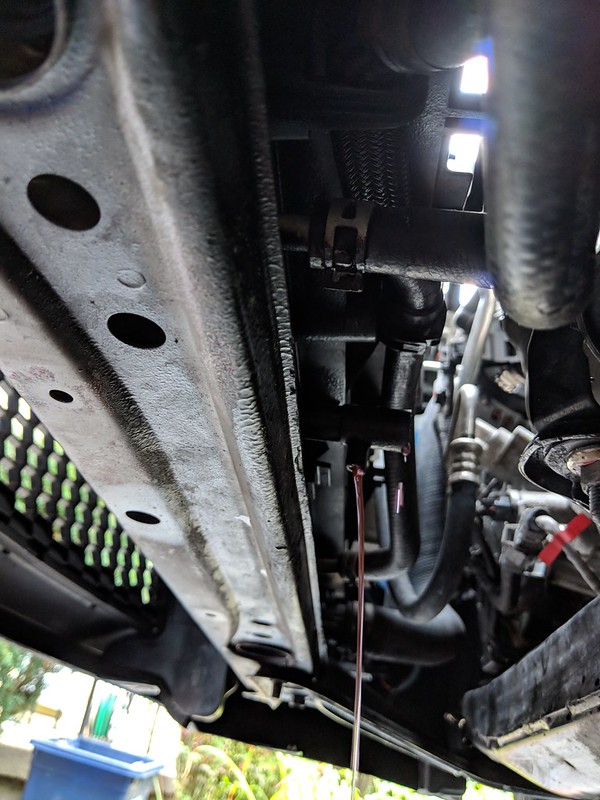
| 這啟動馬達就在副水箱的下方 |
 |
| 10年10公里的舊品 |
 |
| 我去倒一杯咖啡的時間,櫃檯就生出來的新品,可卻沒看到bar code |
 |
| 跟原廠訂的,應該不至於賣假貨吧 |


 |
| 雪胎 |


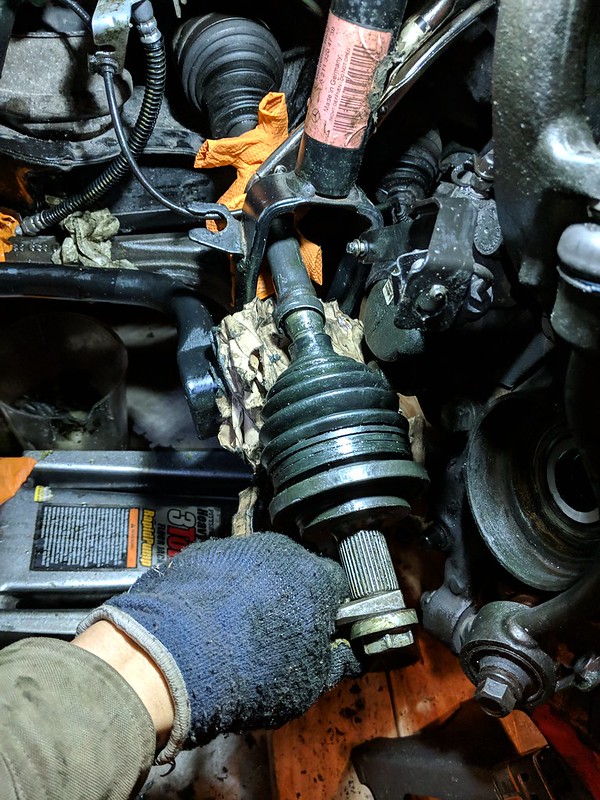
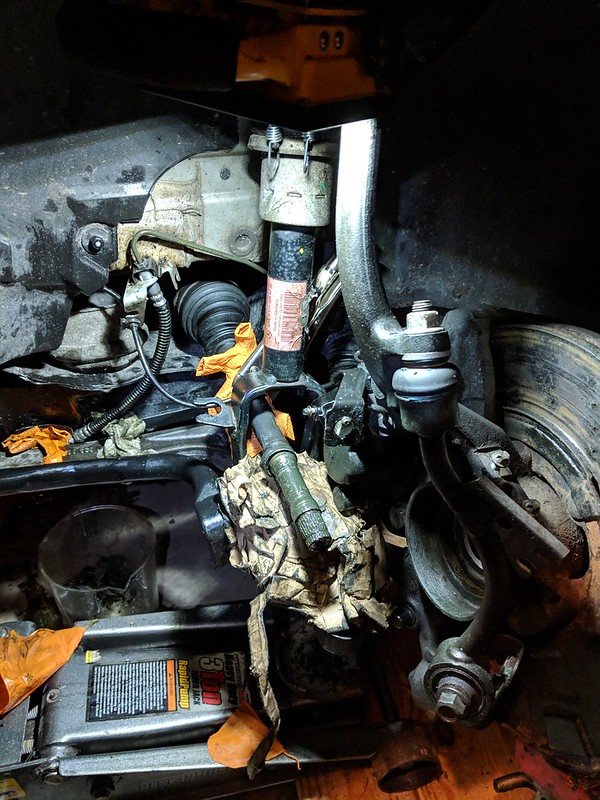
| Axle Boot Clamp Pliers - 3/8" Drive | $87.25 | 1 | $87.25 |
| Brand: Assenmacher Tools (AST) , 2009 Mercedes-Benz E350 Sedan | |||
| Part #: CVB15-M1220 | |||
| Axle Boot Kit, | $22.25 | 1 | $22.25 |
| Brand: OE Supplier | |||
| Part #: 26-9027-H-TS-INT |
| Ebay | 07-09 Benz W211 E-Class Bumper Lights Turn Signal Lamps Pair Chrome Clear DEPO(台灣帝寶燈具?) | 1 | pair | 33.2 |
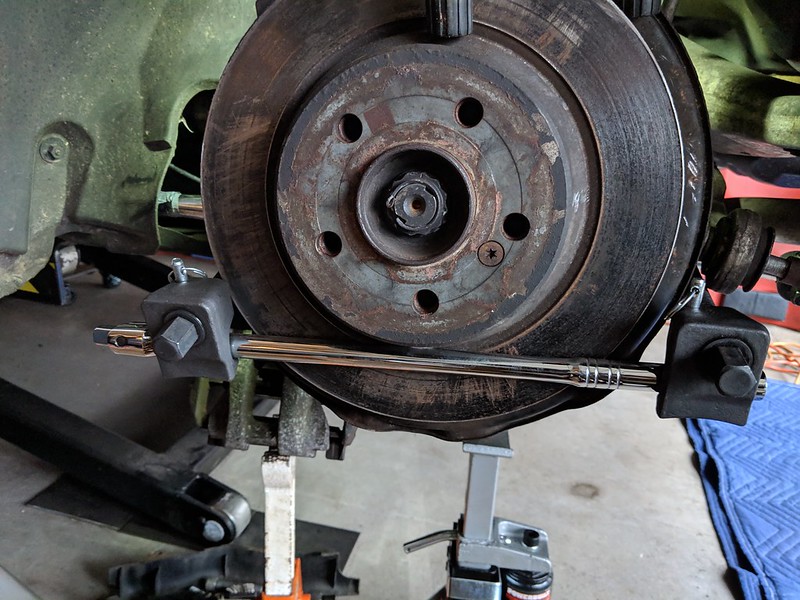
| 211-420-06-48 | Brake Hose | 21.6 | 2 | 43.2 |
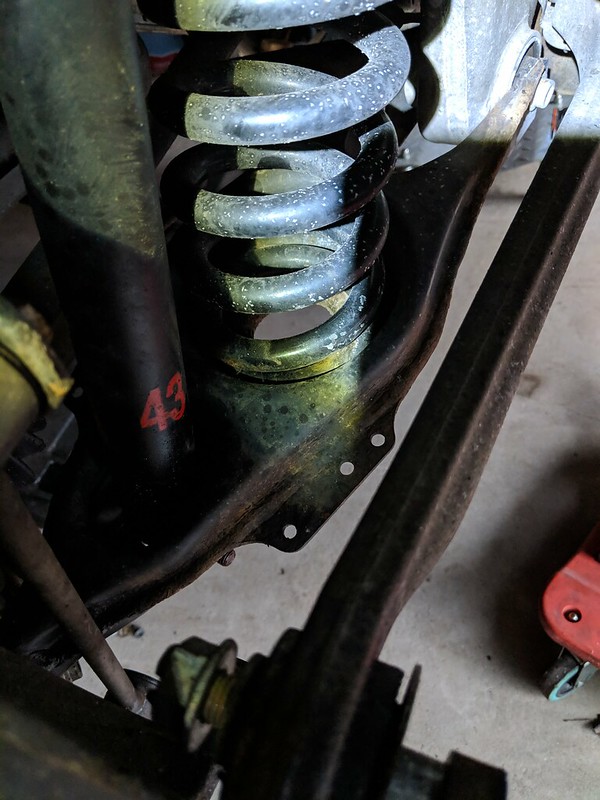
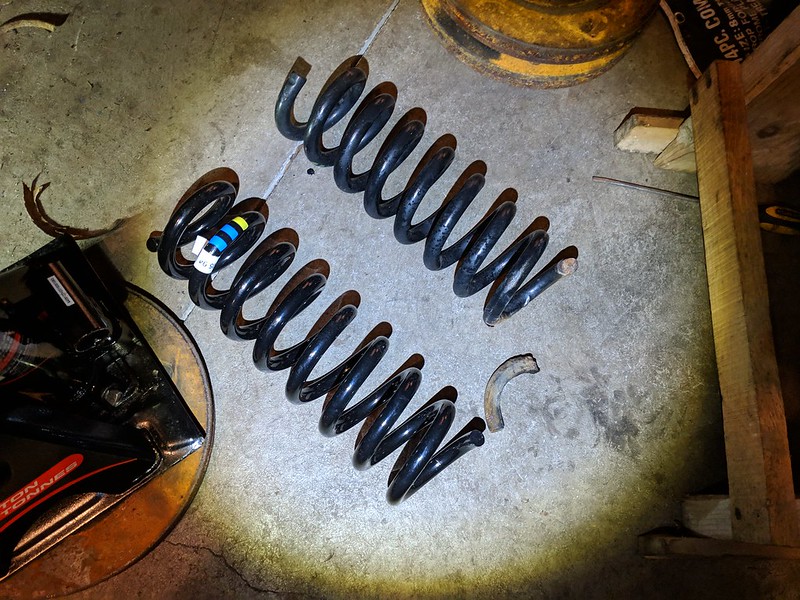
| 211-324-05-04 | Rear Spring | 71.28 | 2 | 142.56 |
| 211-325-05-84 | Spring Seat | 14.04 | 2 | 28.08 |
| Pep Boys | Goodyear Eagle Sport A/S | 153.99 | 2 | 307.98 |


 新
新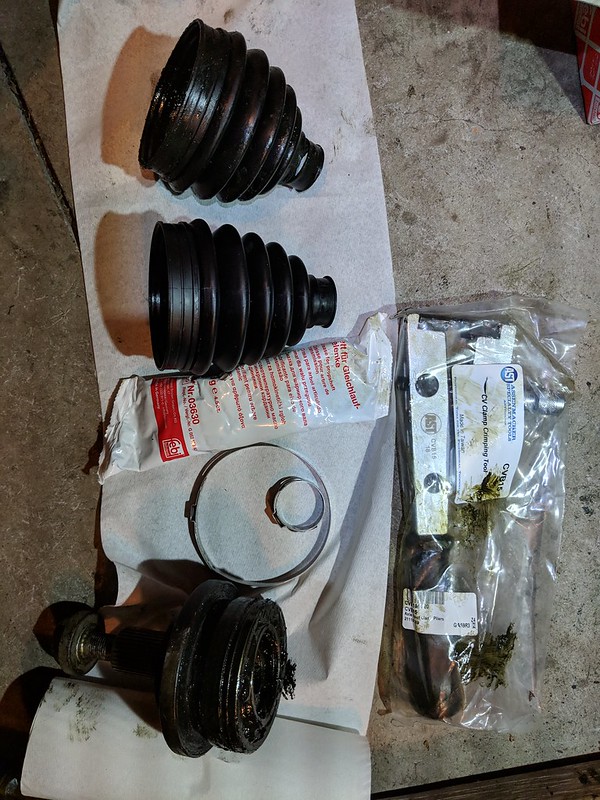


| Item | Part # | Quantity | Amount | Status | Tracking Number | Ship date |
|---|---|---|---|---|---|---|
| Shock Bumper | 5815718 | 2 | $5.12 | Shipped | Feb 23, 2019 | |
| Shock Insulator | 5815719 | 2 | $8.76 | Shipped | Feb 23, 2019 |

Time
|
Mileage
|
Maintenance
|
|
2019.06.15
|
82480
|
Change new starter motor
|
|
2019.04.14
|
81277
|
4.3L Oil change+oil filter
|
|
2018.11.24
|
77850
|
4.2L Oil change (including 0.1L polytron militec)+oil filter+air filter+2L transaction fluid
|
|
2018.05.13
|
74318
|
4.2L Oil change (including 0.1L polytron MTC)+oil filter+air filter
|
|
/belt/ac evaporator?
|
|||
2017.10.31
|
69330
|
Oil change+ filter+NY inspection
|
|
2017.06-10
|
left lower ball joint+front and rear Coil springs
|
||
2017.06.11
|
66850
|
||
2017.04.30
|
66526
|
Oil change+ filter
|
|
2016.12.01
|
63000
|
change driver's brake rotor and pads
|
|
2016,10.16
|
60625
|
transmission fluid change(1L+polytron MTC)
|
|
2016,10.09
|
60575
|
Oil change+
filter+polytron MTC
|
|
2016.09
|
|||
2016.03
|
56000
|
Oil change+ Filter
|
|
2016.01
|
|||
2015.09
|
52100
|
 drain first
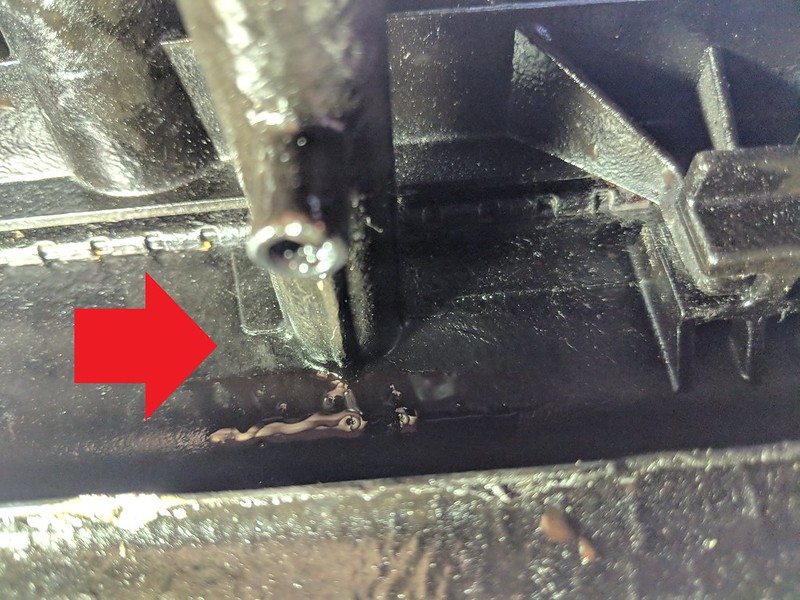
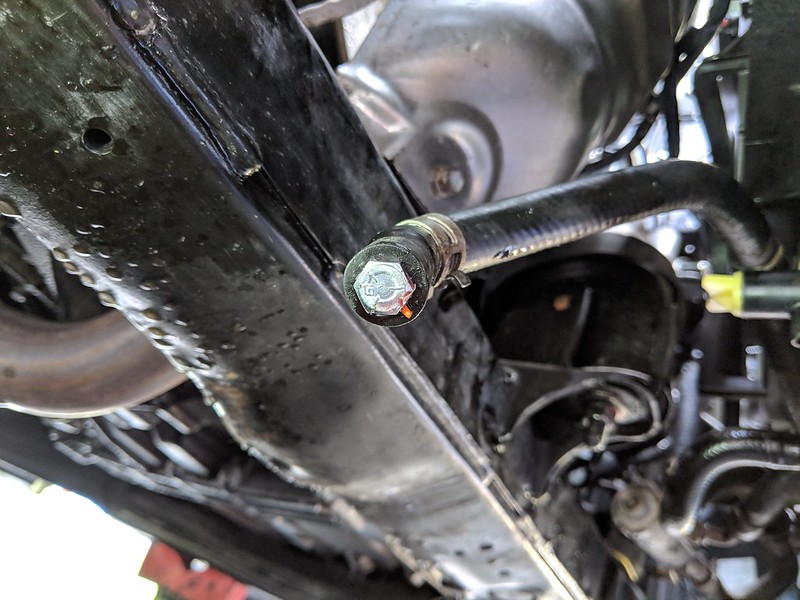
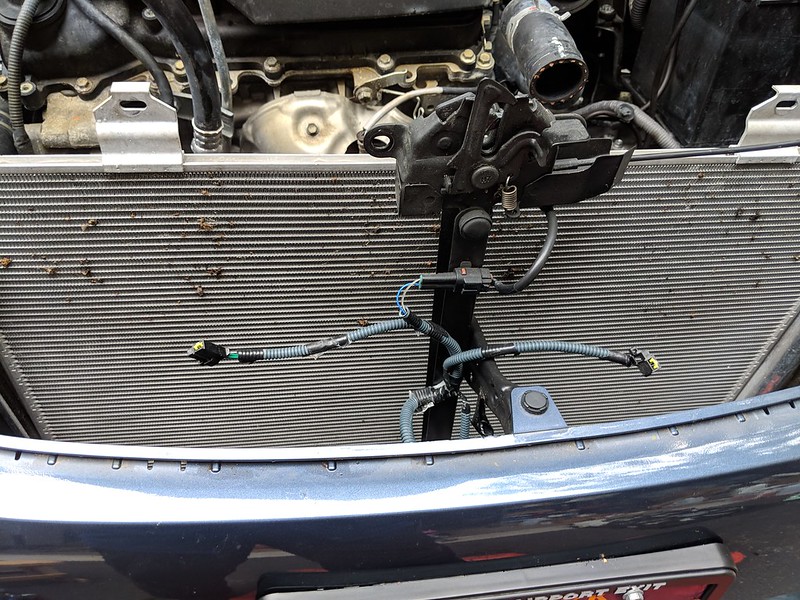
 remove the tranmission hose
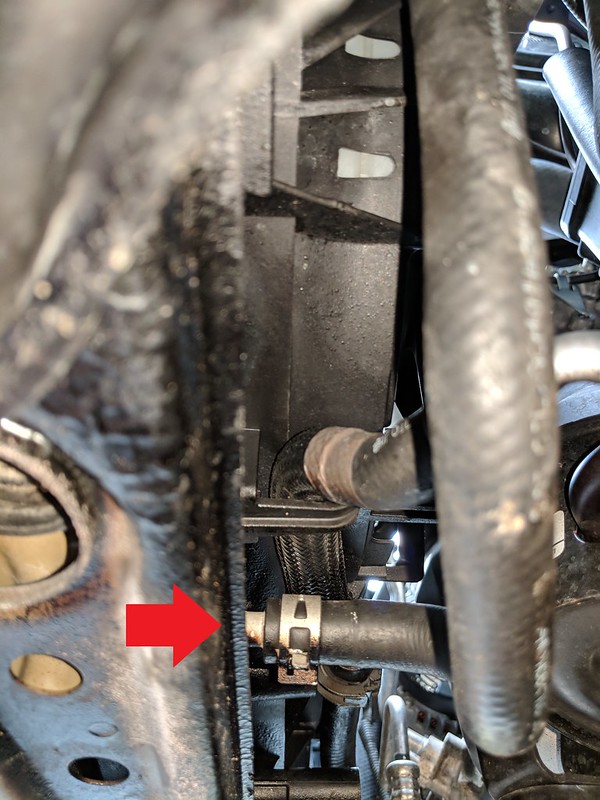 remove lower collant hose
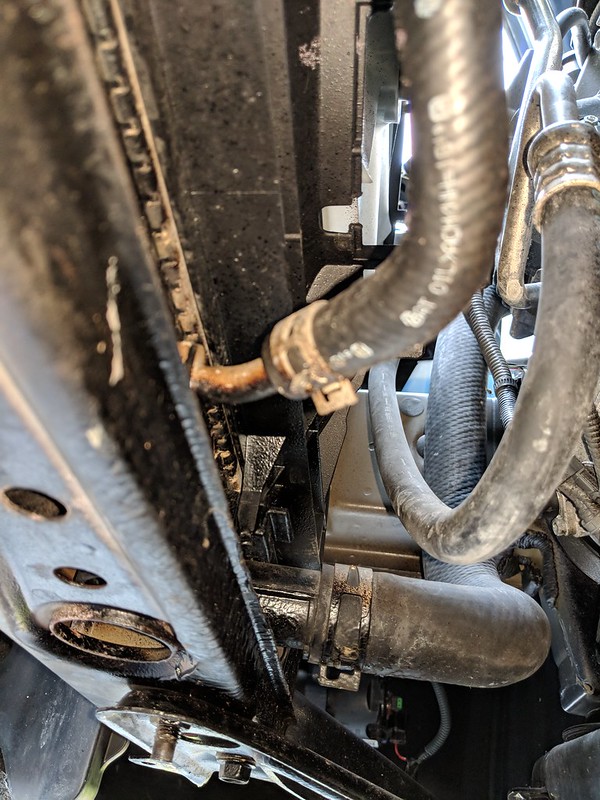 that is how i stopped the fluid...
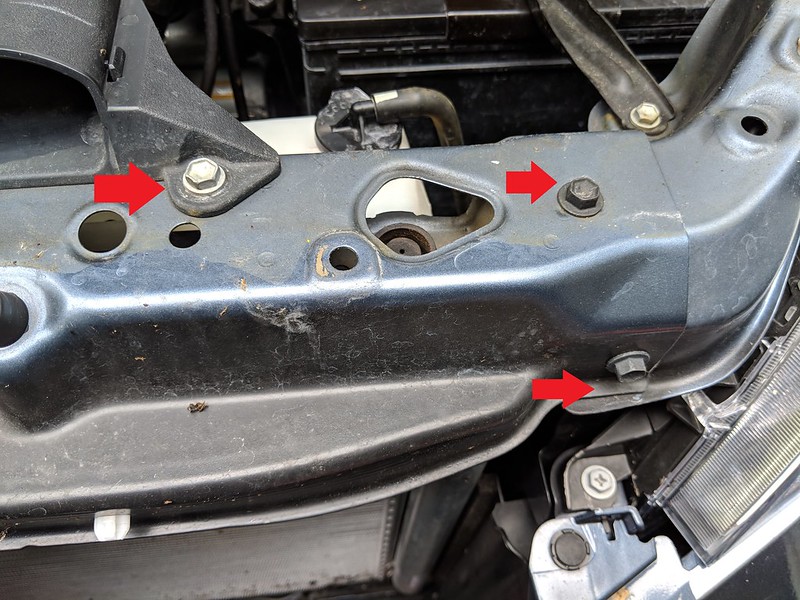
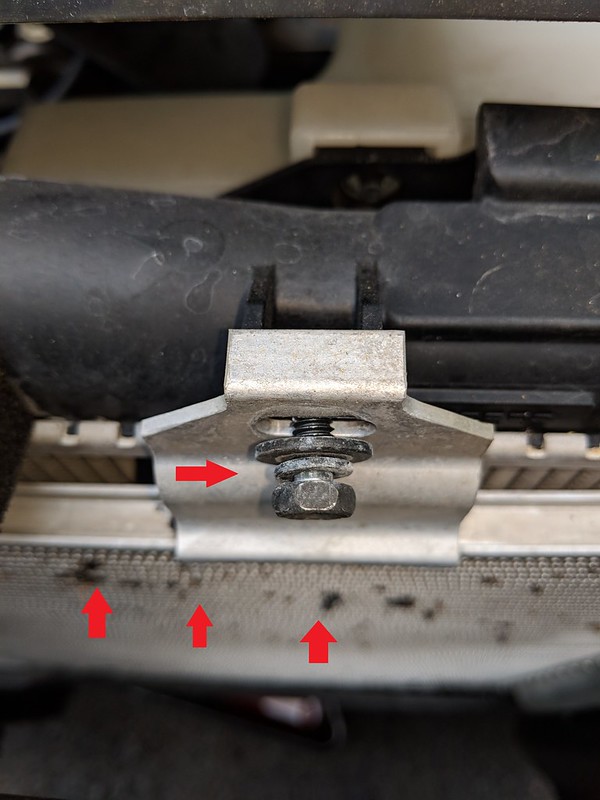
 Separate condenser from the radiator and more bugs...
 remove the radiator successfully. time to rinse and wash out the bud bodies
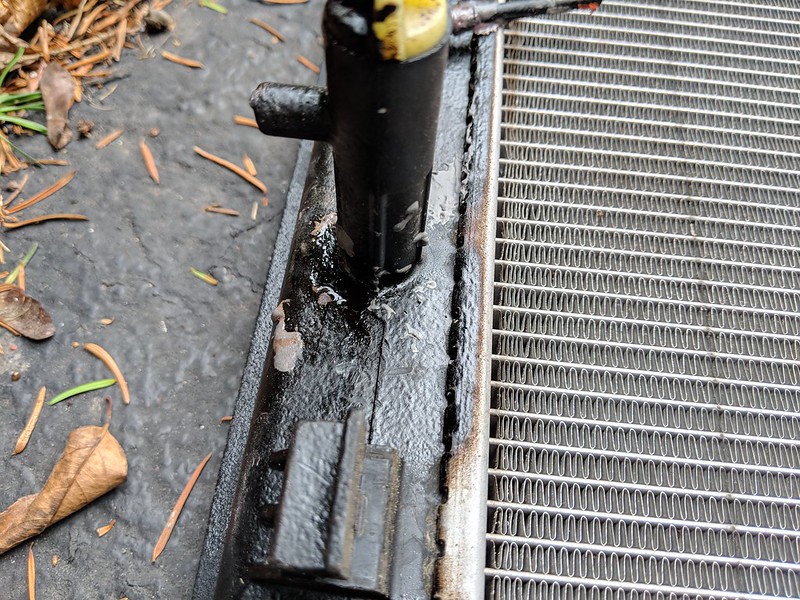
 broken radiator and retain the 4 adaptors below and upper
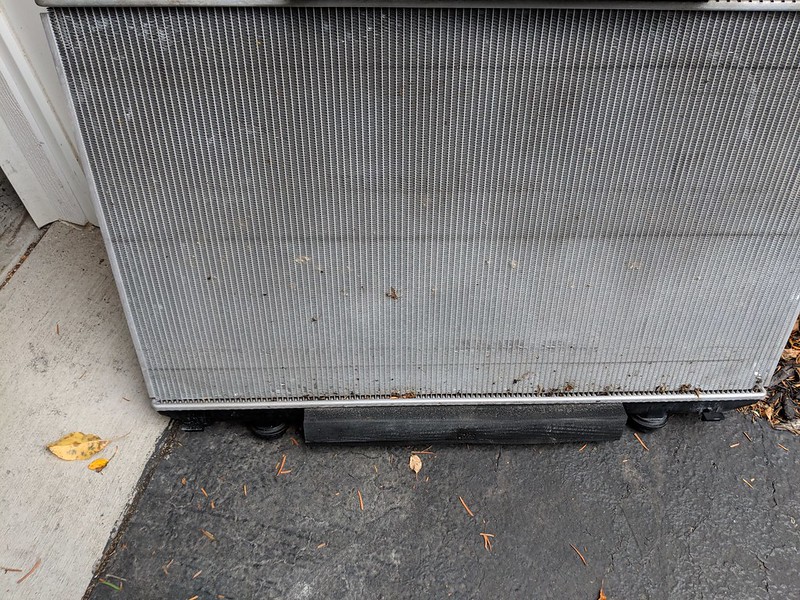 radiator cracks
 a genuine part
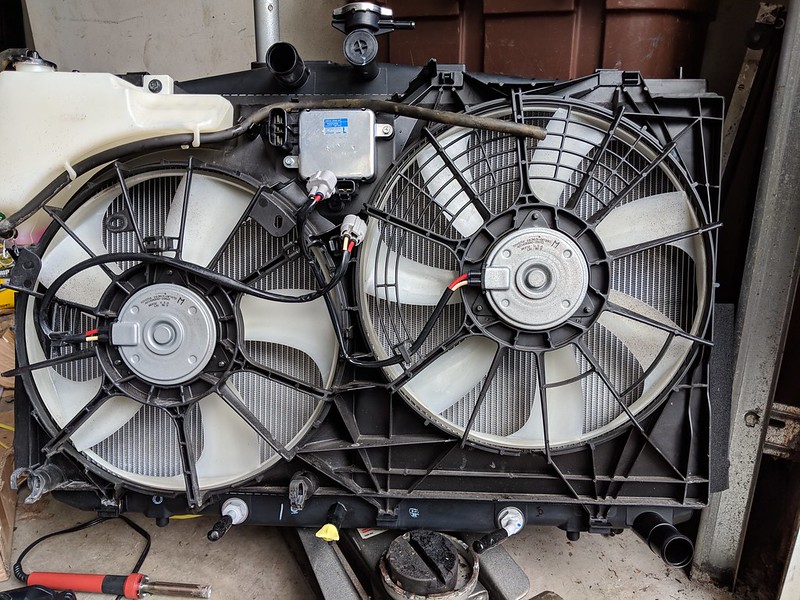
 install fan module on the new radiator
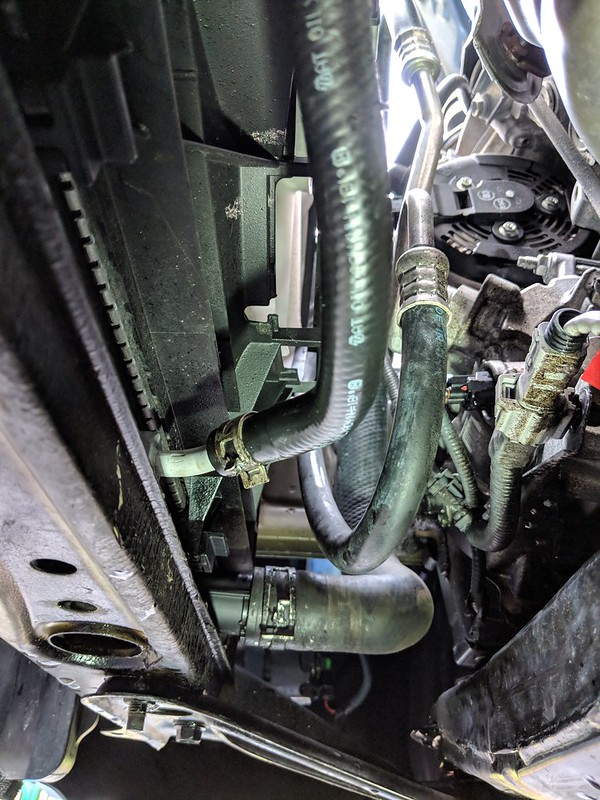
 put it back and connect every hose
 fill in genuine Toyota 50/50 coolant. Actually I also fill in 50ml transmision fluid
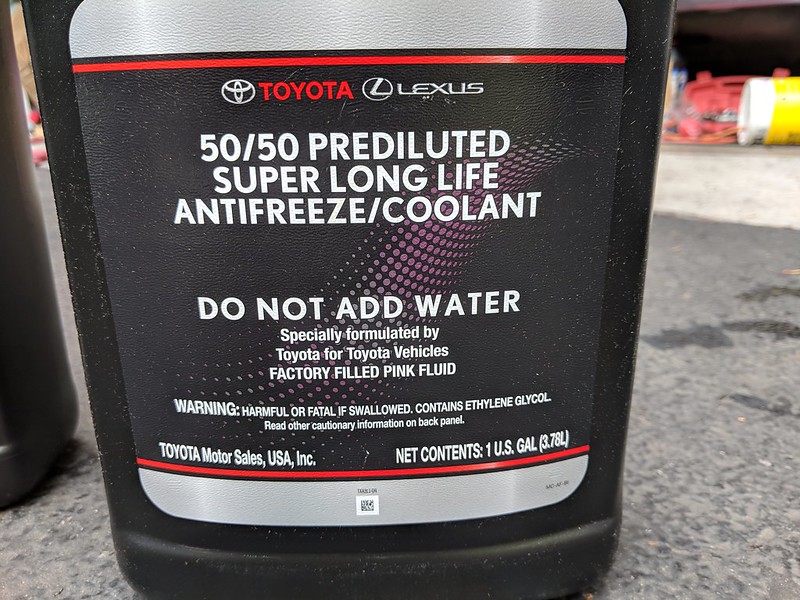 a Must to fill in the coolant.